Exploring the world of printmaking can be a fascinating journey for anyone looking to unleash their creativity on paper. In this article, I’ll guide you through a range of techniques that will empower you to embark on your own printmaking projects with confidence. Whether you’re a seasoned artist or a curious beginner, mastering these techniques can open up a world of artistic possibilities.
From linocuts to screen printing, the art of printmaking offers a versatile canvas for self-expression. In the following sections, I’ll share insights on how you can experiment with different materials, textures, and colors to bring your unique vision to life on paper. Get ready to dive into the exciting realm of printmaking and discover the joy of creating stunning artworks that reflect your individual style.
Exploring Different Printmaking Techniques
When exploring different printmaking techniques, it’s fascinating to dive into the diverse approaches artists use to create unique pieces. Each method offers a distinct way to express creativity and bring imagination to life on paper.
Relief Printmaking
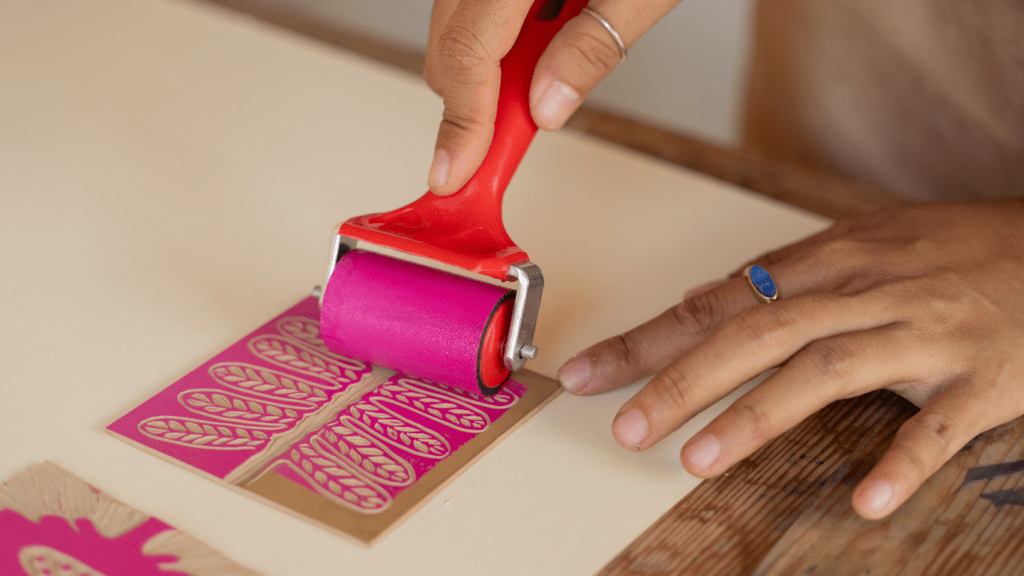
In relief printmaking, I carve away the areas I don’t want to transfer onto paper, leaving the raised parts to be inked and printed. This technique, often associated with linocuts and woodcuts, allows for bold and graphic artworks with a textured feel. By using tools to cut or gouge the printing surface, I can create intricate designs that produce striking prints.
Intaglio Printmaking
Intaglio printmaking involves incising or etching an image onto a surface, typically a metal plate, which is then inked and wiped, leaving ink only in the incised lines. As I run the plate through a press, the paper is forced into the lines to pick up the ink, resulting in finely detailed prints. This technique, including processes like etching and engraving, offers a meticulous way to create intricate and textured artworks.
Lithography
Lithography is a printmaking technique based on the principle that oil and water do not mix. I draw my image with greasy materials on a flat surface, then apply ink that sticks to the greasy parts and is repelled by the wet areas. When transferring the image onto paper, I achieve smooth and detailed prints with a wide range of tones and textures. Lithography allows me to explore the interplay of drawing and printing to produce captivating artworks.
Screen Printing
Screen printing, also known as silkscreen printing, involves using a mesh screen to transfer ink onto a surface except where a blocking stencil is placed. This versatile technique enables me to create multiple layers of colors and textures, making it ideal for vibrant and bold artworks. By manipulating the stencil and screen, I can experiment with various effects and achieve visually dynamic prints that showcase depth and intricacy.
As I delve into the intricacies of relief, intaglio, lithography, and screen printing, I broaden my creative horizons, exploring the endless possibilities each technique offers in bringing my artistic visions to fruition.
Materials Needed for DIY Printmaking
I’ll now outline the essential materials required for diving into DIY printmaking projects. Ensuring you have the right supplies is crucial for successful printmaking endeavors.
Choosing the Right Paper
When it comes to printmaking, selecting the appropriate paper is vital. Opt for a paper with a weight of around 250-300 gsm (grams per square meter) for most printmaking techniques. The paper should also have a smooth surface to allow for crisp and detailed prints. Additionally, consider the texture of the paper, as it can impact the overall look and feel of your prints. Experiment with different types of paper to find the one that best suits your artistic vision.
Selecting Inks and Other Supplies
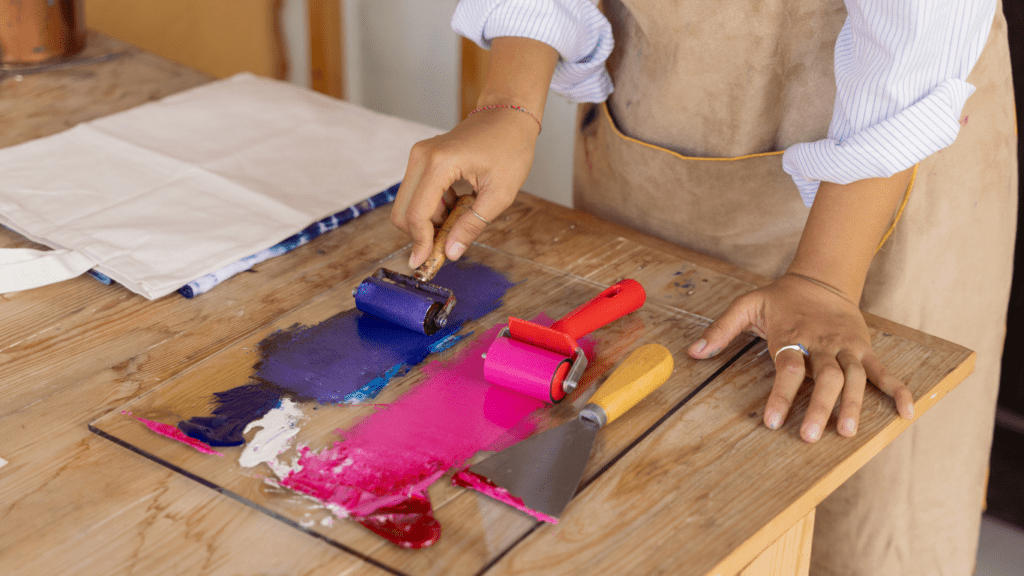
Ink selection plays a significant role in the outcome of your prints. For relief printing, water-based inks are commonly used, while oil-based inks are preferred for intaglio techniques. When it comes to screen printing, opt for acrylic or fabric inks depending on your printing surface. Apart from inks, gather essential supplies like brayers, printing plates, carving tools, and a printing press if available. These tools are essential for creating high-quality prints and experimenting with various printmaking techniques.
Setting Up Your Printmaking Workspace
To create a conducive environment for your printmaking projects, it’s vital to set up a functional workspace that caters to your artistic needs. Here are some key aspects to consider when establishing your printmaking area:
Home Studio Essentials
When setting up your printmaking space, ensure you have ample natural light or good lighting to illuminate your workspace effectively. A well-lit area can enhance your visibility and help you make precise prints.
Consider investing in a sturdy worktable or desk that provides enough room for your printmaking materials and tools. A spacious work surface can accommodate various printmaking processes and allow for unrestricted movement during printing.
Organize your supplies systematically to streamline your workflow. Use storage solutions like shelves, drawers, or storage boxes to keep your inks, papers, tools, and equipment neatly arranged and easily accessible.
- Ventilation: Ensure proper ventilation in your workspace by opening windows or using a fan to reduce exposure to fumes from inks and solvents.
- Protective Gear: Wear appropriate protective gear such as gloves, aprons, and goggles to shield yourself from potentially harmful substances and prevent accidents during the printing process.
- Cleanliness: Maintain a clean and organized workspace to prevent accidents and ensure a hygienic environment for creating your prints.
- Fire Safety: Keep fire extinguishers handy in case of emergencies, especially when working with flammable materials like certain types of inks and solvents.
Step-by-Step Guide to Creating Your First Print
Preparing the Design
When starting a printmaking project, I recommend sketching your design on paper before transferring it to the printing surface. This initial step allows you to refine your ideas and make adjustments easily. Remember, the design will ultimately determine the aesthetics of your print.
Transfer and Carve
Once you have a finalized design, it’s time to transfer it onto the printing surface. You can use various techniques such as tracing paper, carbon paper, or drawing directly onto the surface. Next, carve your design into the material using tools like chisels, gouges, or knives. Take your time with this step to ensure precision and detail in your carving.
Proofing and Printing
Before diving into the final print, it’s crucial to create a test print, also known as a proof. This allows you to check the quality of your design, carving, and printing surface. Make any necessary adjustments based on the proof before proceeding to the actual printing process. When you’re satisfied with the proof, it’s time to ink the surface, lay the paper carefully, and apply pressure evenly to create your first print.
Tips for Mastering Printmaking
When it comes to mastering printmaking, it’s essential to experiment with various techniques and troubleshoot common issues that may arise during the process. Here are some valuable tips to help you hone your skills in printmaking:
Experimenting with Techniques
To become proficient in printmaking, I recommend experimenting with different techniques such as relief, intaglio, lithography, and screen printing. Each technique offers a unique set of challenges and creative possibilities, allowing you to expand your skills and artistic repertoire. By trying out various methods, you can discover which techniques resonate with your style and vision, helping you develop a distinctive artistic voice in printmaking.
Troubleshooting Common Issues
In printmaking, encountering common issues like uneven ink distribution, smudges, or inconsistent prints is not uncommon. When faced with such challenges, I suggest starting by reviewing your printing process step by step to identify where the issue may have occurred. Make sure to check your materials, tools, and workspace for any potential causes of the problem. By troubleshooting systematically and making small adjustments along the way, you can overcome common issues and improve the quality of your prints.


