Ever wanted to add a personal touch to your creative projects? In my experience, making custom stencils is a fantastic way to unleash your artistic flair and elevate your DIY endeavors. Whether you’re a seasoned crafter or a beginner looking to explore new techniques, creating your own stencils can open up a world of possibilities.
Understanding Stencils and Their Uses
Stencils are versatile tools used in various art and crafting projects. They consist of a template with a design cut out, allowing you to replicate patterns accurately. Whether you are a seasoned crafter or just starting, stencils can be valuable assets in your creative endeavors.
Types of Stencils
There are several types of stencils available, each catering to different needs:
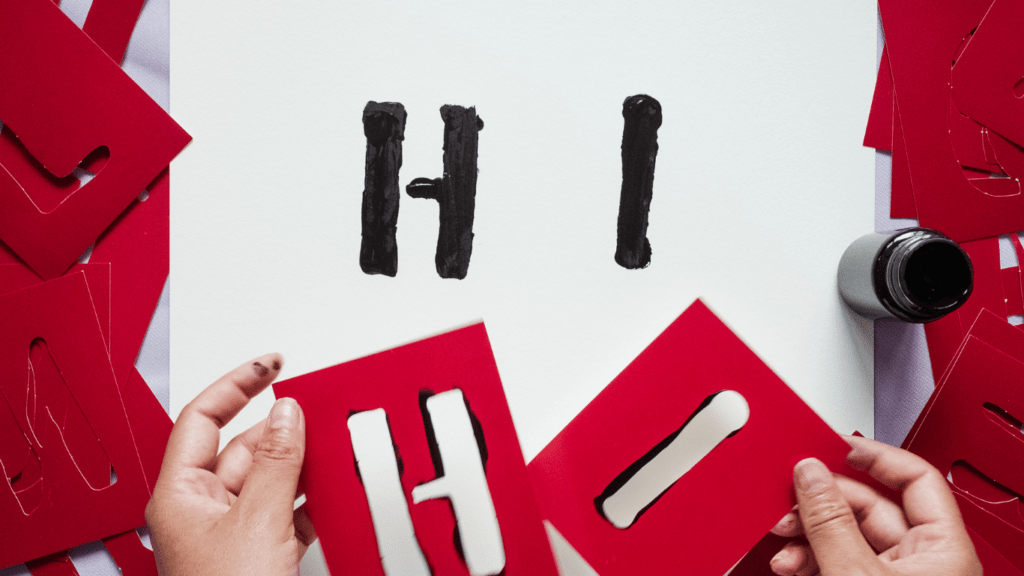
- Letter Stencils: Ideal for adding texts and numbers to your projects.
- Shape Stencils: Perfect for creating geometric designs or specific shapes.
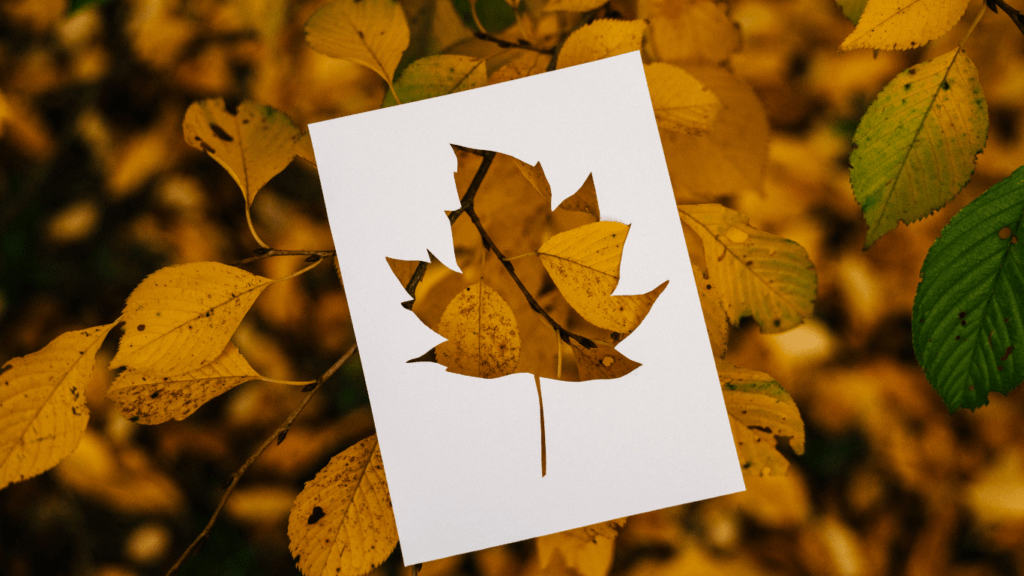
- Decorative Stencils: Used for intricate patterns and decorative elements.
- Custom Stencils: Tailored to your unique designs and requirements.
- Home Decor: Enhance walls, furniture, and fabrics with customized stenciled patterns.
- Art Projects: Create striking artworks with intricate stencil designs.
- Crafting: Add flair to scrapbooking, card-making, and DIY projects using stencils.
- Fabric Design: Personalize clothing, tote bags, and accessories with unique stencil motifs.
Materials Needed for Custom Stencils
When making custom stencils, it’s crucial to have the right materials at hand to ensure the success of your project. Here are the essential items you’ll need:
Choosing the Right Type of Material
- Stencil Material: Opt for a durable material like mylar or thick cardstock for longevity and easy cleaning.
- Cutting Tools: Invest in precision cutting tools such as a craft knife or a stencil cutting machine for intricate designs.
- Adhesive Spray: Use a repositionable adhesive spray to keep your stencil in place while working on your project.
- Paints or Markers: Select high-quality paints or markers suitable for your surface to achieve crisp and clean stencil designs.
- Ruler and Tape: Ensure straight lines and proper alignment by using a ruler and painter’s tape to secure your stencil.
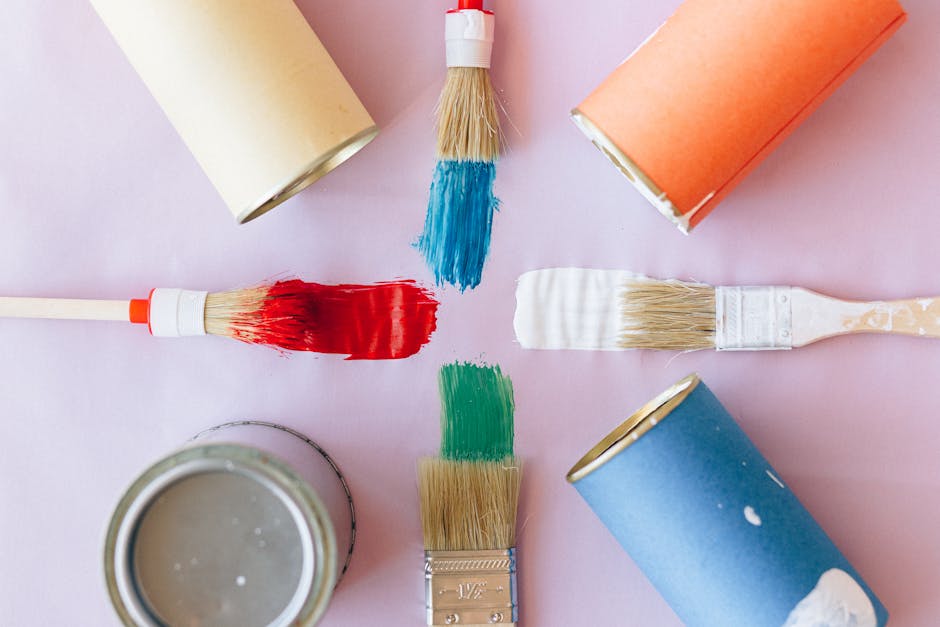
- Brushes or Sponges: Have a variety of brushes or sponges on hand for applying paint to your stencil with precision.
- Cleaning Supplies: Keep cleaning wipes or a damp cloth nearby to quickly clean your stencil between uses.
- Protective Gear: It’s essential to prioritize safety, so wear gloves and a mask to protect yourself from any fumes or paint splatters.
Step-by-Step Guide to Making Custom Stencils
I’m excited to guide you through the process of making custom stencils, starting with designing your stencil, transferring the design to your material, and finally cutting out your stencil.
Designing Your Stencil
When designing your stencil, consider the intricacy of your design and how it will translate onto your desired surface. Ensure that your design is clear and has well-defined lines to make the cutting process easier.
Transferring the Design to Your Material
To transfer your design to the stencil material, you can use various techniques such as tracing the design onto the material using transfer paper or directly drawing it onto the stencil material. Make sure the design is accurately positioned on the material before proceeding to cut it out.
Cutting Out Your Stencil
Using sharp cutting tools like precision knives or stencil cutters, carefully cut along the outline of your design to create your custom stencil. Take your time with this step to ensure precise cuts and smooth edges for optimal stencil performance.
Tips and Tricks for Perfect Stencil Creation
Achieving Clean Cuts
To achieve clean cuts when making custom stencils, I ensure to use sharp cutting tools like precision knives or scissors. It’s crucial to work on a stable surface and apply consistent pressure while cutting along the lines to prevent any jagged edges. Additionally, rotating the material instead of the knife helps in maintaining smooth and precise cuts, resulting in a professional-looking stencil.
Reusing and Storing Stencils
When it comes to reusing and storing stencils, I recommend cleaning them immediately after use to prevent paint or adhesive buildup. I store my stencils flat or rolled up, depending on their size, in a cool, dry place to maintain their shape and integrity. Using protective sheets or envelopes for storage can further safeguard the stencils from damage and prolong their lifespan for future projects.