Why DIY Wall Art Is Worth Your Time
Looking for an easy way to refresh your home without a major investment of time or money? DIY wall art is the answer. These projects aren’t just fun they’re meaningful, personal, and instantly rewarding. Whether you’re in a cozy apartment or sprucing up a first home, putting your creativity on the walls can make a big difference.
Reasons to Try DIY Wall Art This Weekend
Instant Impact, Minimal Spend
A few simple materials many under $20 can transform a blank wall into something stylish and expressive. You don’t need to buy expensive prints or pay for professional framing.
A Personalized Touch
Store bought decor can’t match the personality and mood you can bring with your own hands. Choose your favorite colors, patterns, and themes to reflect your unique taste.
A Creative Confidence Boost
Completing even one small wall art project can spark momentum for other home updates. Best of all? You’ll finish in just a few hours and feel great about what you made.
DIY wall art is where simplicity meets style. It’s accessible, rewarding, and a perfect way to make your space feel like home.
Abstract Canvas Painting
Why It Works
Abstract art is the ultimate beginner friendly wall project. There’s no right or wrong just your own eye for color, texture, and flow. It’s expressive, easy to start, and surprisingly therapeutic.
Getting Started
You don’t need training or expensive materials. Most supplies can be found at any craft store or repurposed from what you already own.
Materials Checklist:
Blank canvas (any size that suits your wall)
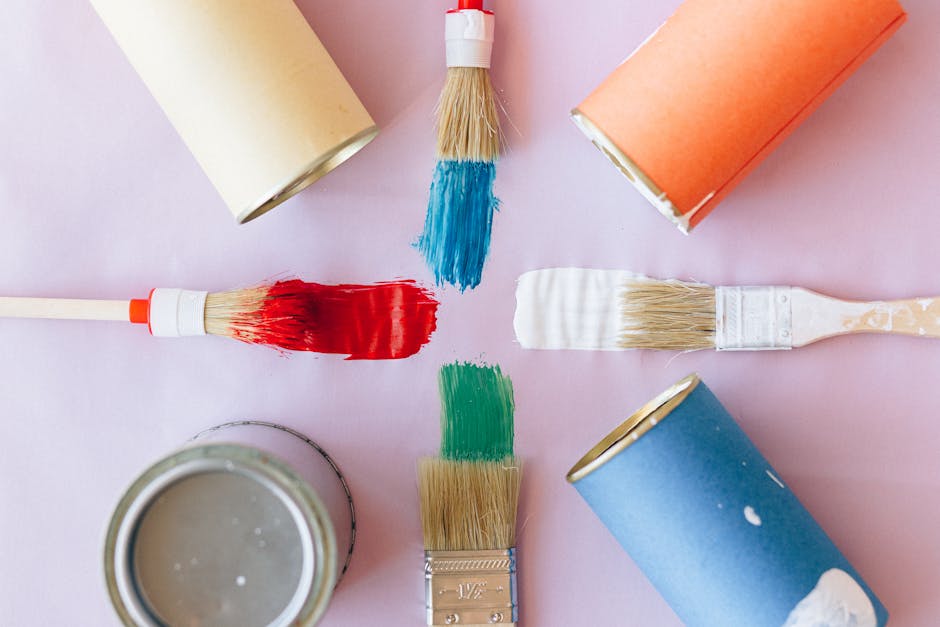
Acrylic paint in 3 5 coordinating colors
Paintbrushes and sponges
Drop cloth or newspaper to protect your workspace
Color Palette Tips
Choosing the right palette makes your artwork feel intentional. Some quick ideas:
Pull colors from items already in the room (pillows, rugs, accent pieces)
Use two neutral tones plus one bold pop of color
Try a monochromatic look with varying shades of the same color
Pro Tip:
Use masking tape to block sections, create clean lines, or add geometric accents. Let one layer dry before applying another to avoid smudging.
Framed Fabric Panels
What Makes It Special
Turn old textiles, scarves, or fabric swatches into vibrant wall decor. It adds depth, texture, and color with very little effort.
Step by Step Setup
- Choose your fabric Look for high contrast patterns or simple solids, depending on your taste.
- Prep your frame Use thrifted frames or inexpensive wooden stretcher bars.
- Mount your fabric Stretch it tightly across the backing and secure with a staple gun, double sided tape, or adhesive spray.
Mounting Tips:
Pull fabric taut from the center outward to avoid sagging
Iron or steam ahead of time to remove creases
Style Options:
Bold prints energize a room
Neutral textures create calm, minimalist vibes
Layer several frames in a grid for a gallery effect
Washi Tape Geometric Designs
Why You’ll Love It
Fast, non permanent, and full of visual punch washi tape transforms blank walls into graphic statements without risking your security deposit.
How to Pull It Off
Materials Needed:
Washi tape in 2 4 complementary shades
Ruler or measuring tape
Pencil for lightly marking layout
Level (optional but ideal for precision)
Steps for Success:
- Sketch your design on paper first
- Lightly mark wall points with pencil
- Use ruler or level to guide straight application
- Make sure edges are crisp and firmly pressed
Best Tape Types
Opt for mid range washi tapes that balance strong adhesion and easy removal. Avoid ultra cheap versions they can peel paint or lose their stick.
Want even more quick hit creative ideas? Explore additional weekend ready options in this guide to easy wall art.
DIY Photo Grid
Turn Memories Into Art
Why leave your favorite photos hidden in your phone? A simple photo grid adds a warm, personal touch to any wall.
What You’ll Need:
12 25 printed photos
Mounting options:
Mini binder clips
Washi tape
String + clothespins or pins
Ruler or level to keep spacing consistent
Assembly Tips:
Keep spacing uniform both horizontally and vertically
Use black and white prints for a clean, cohesive look or go full color for impact
Begin in the center and work outward for balance
Layout Ideas:
Classic square grid
Heart shaped collage
Vertical strip for narrow wall spaces
Statement Quote Boards
Speak Your Style
Sometimes words say it best. Whether it’s motivational, witty, or deeply personal, a statement quote board centers your space with meaning.
Ways to Make Yours:
Chalkboard paint on wood or canvas for a hand lettered vibe
Stenciled paint for crisp, graphic statements
Pre cut vinyl letters for clean results with little effort
Finishing Touches:
Frame with a simple black or wood frame
Hang solo or integrate into a gallery wall
Keep it readable limit line length and use contrast between background and text
Quick Formula for Success:
- Choose a short, powerful quote
- Match the style to your room (modern, rustic, playful)
- Keep spacing and line height consistent during layout
Pro Tips for Weekend Wins
Setting yourself up for success before you ever pick up a brush, tape, or photo pin can make all the difference. These quick prep tips help you work smarter not harder.
Lay Out Your Materials Before You Begin
You don’t want to pause mid project to search the junk drawer for scissors. Having everything ready allows you to stay in the creative zone.
Gather all your tools and materials in one place
Double check you have enough tape, paint, or adhesive
Organize them in the order you’ll use them for a smoother workflow
Choose One Wall to Stay Focused
It’s easy to get overambitious with DIY projects. Limiting yourself to a single wall helps avoid burnout and decision fatigue.
Pick a wall with good visibility or natural light
Consider walls that need a visual boost, like entryways or above storage units
Keep your goal modest so you can finish within a weekend
Use Painter’s Tape and a Level
A little preparation goes a long way toward a professional looking finish. Painter’s tape and a level ensure your lines and layouts are clean and sharp.
Tape off borders or aligners for painted designs and quote boards
Check symmetry when hanging a photo grid or frames
Even washable washi tape looks better when it’s placed precisely
These simple habits can help your project go off without a hitch so you stay motivated and finish strong.
Your Space, Your Canvas
DIY wall art isn’t supposed to look like it came out of a factory. That’s the point. The charm is in the brushstroke that’s not quite straight or the photo grid that’s a little off center. Perfection is overrated, and your space should reflect you not a showroom. So don’t overthink it.
Use these ideas as a foundation, not a formula. If your ceiling’s low, scale things down. If you’re into neutrals, skip loud colors. The projects are flexible stretch them to fit your taste, your budget, and your square footage.
Ready to jump in? Start simple, start somewhere. And if you’re looking for more low stress, high impact pieces, browse some easy wall art projects.